Gluten-Free Sourdough Bread Recipe
Prep Time: 20 mins
Cook Time: 1 hr 5 mins
Ferment & Proofing Time: 8 hrs
Ingredients
- 110 grams of gluten-free sourdough starter, added at peak activity
- 450 grams total of gluten-free flour. I recommend 150 grams brown rice flour, 150 grams millet flour, 125 grams sorghum flour, and 25 grams buckwheat flour for this recipe. See flour notes below for other options and variations.
- 3 tbsp psyllium husk
- 10 grams salt (sea salt, kosher salt, or Himalayan salt is preferred over iodized table salt)
- 2 cups of lukewarm warm (chlorine-free if possible)
- Optional: 1 tbsp honey, for a hint of sweetness and a dash more “food” for the starter to feed on.
Instructions
- Before making the dough, be sure to feed your sourdough starter at least twice, allowing it to reach peak activity level.
-
Combine all dry ingredients (flours, salt and psyllium husk) in a mixing bowl.
-
Add wet ingredients (starter, water, and optional honey). Mix with a utensil first, and then you may want to use clean hands to thoroughly mix further. Or, use a stand mixer.
-
Form the dough into a fairly smooth ball, and set it in the bottom of a bowl. No need to knead the dough, or perform “stretch and folds” as you would with gluten-based sourdough.
-
Cover the bowl with a damp cloth. Set it aside in a location that is as close to 75F as possible to “bulk ferment” for 3-5 hours.
-
After an average of 4 hours of bulk fermentation at room temperature, gently transfer the dough into a flour-dusted (and potentially cloth-lined) banneton proofing basket of choice.
-
Cover the banneton with a damp lint-free towel. You can leave it at room temperature for another hour (optional) and then move it to the refrigerator, or just refrigerate immediately after transfer.
-
Move the banneton to the refrigerator to cold-proof the dough overnight (7 to 12 hours). Leave the dough in the fridge until immediately before transferring to hot pre-heated baking pan.
-
Preheat the oven to 475 degrees F. If you’re using a dutch oven or combo cooker, place it in the oven to preheat for one hour.
-
After an hour of preheating the baking pan, use the cutting board trick (see Note 1 below) to carefully transfer the cold dough out of the banneton and into the hot combo cooker or dutch oven. Score the top of the loaf with a bread lame while it it is still on the cutting board if desired.
-
Bake the loaf covered for 60 minutes, and then remove the lid and bake for an additional 5 minutes uncovered. (See Note 2 below)
-
Once done, immediately remove the finished sourdough loaf from the oven and combo cooker and place the loaf on a wire rack to cool.
-
Let the sourdough bread loaf sit at room temperature for several hours before cutting. The steam trapped inside is important moisture to retain!
-
Enjoy!
-
Store the finished gluten-free sourdough bread wrapped in a dry lint-free cloth towel, and then inside a brown paper bag. Toasting or lightly broiling the bread helps revive stale bread that is a few days old. Freeze some while still fresh (the first day) if you do not think you’ll be able to finish the loaf within 3-4 days.
Notes
As an Amazon Associate I earn from qualifying purchases.
- To transfer the dough from the banneton to the hot combo cooker or dutch oven, try this trick: Place a piece of parchment paper (cut to just larger than the banneton and loaf) on top of the banneton and exposed dough. Then place a cutting board on top. Holding both the cutting board and banneton, flip the whole thing over. Lift the banneton away, leaving the dough ball sitting on the parchment paper and cutting board. Carefully slide the parchment paper into the combo cooker or dutch oven.
- If the bottom of your loaf seems to brown more than you’d like, try adding an empty baking or cookie sheet to the empty oven rack directly below your combo cooker or dutch oven. It deflects some of the heat away from the bottom of the loaf, reducing burning or browning.
More in Depth Instructions
Before we get into the step-by-step, here is a quick summary. Sourdough baking is generally a two-day process. Don’t worry, most of the time the dough is just sitting there, hanging out in various stages of fermentation. It doesn’t need a constant babysitter. I will describe everything in detail below, but I thought it would be helpful to go into it with this in mind.
Example timing: Say we want to bake a loaf on Saturday morning. We store our sourdough starter in the fridge, so we’ll need take it out on Thursday evening to let it sit to warm up overnight. Then we’ll feed it a couple times on Friday, and make dough with the active sourdough starter on Friday afternoon or evening. The dough bulk ferments at room temperature for a few hours, then proofs in the fridge overnight. It is ready to bake on Saturday morning. You could also make your dough in the morning and bake the bread later that afternoon, but we have found the best results when the dough has time for an overnight cold proof.
It’s not as complicated as it sounds, I promise! You’ll get your own groove down in no time.
The Importance of Temperature
During this process, try to keep both your starter and the dough around 70-80 degrees Fahrenheit. 75°F is the ideal fermentation temperature for the yeast and bacteria to stay active and happy. During warmer months (or if your house is otherwise warm) you can usually keep everything out on the counter. However, cooler winter conditions lead to less active sourdough (less rise) and also an increased chance of mold in the starter. Excessively warm conditions (over 80°F) will make the dough rise more quickly, but could also lead to over-proofing – or deflating.
I highly suggest using a thermometer in the immediate vicinity of where your starter and dough are hanging out. We like to keep this ambient thermometer on the kitchen counter for easy monitoring. Going by “feel” isn’t always reliable. For example, our house feels very comfortable to us humans at only 65F, but that is a bit too cool for your dough baby.
A couple options to provide warmth to your sourdough are to keep it near a warm appliance, use an electric heating pad or seedling heat mat nearby, or to wrap the container/bowl in classic holiday lights. I emphasize classic lights because newer LED lights do not get warm. Last but not least, our favorite easy way to keep both sourdough starter and the proofing dough warm is to keep it inside the oven – with the oven OFF, but the oven light on! It creates the perfect cozy home. It if gets too warm in the oven, keep the door cracked open slightly.
STEP 1: Ready Your Starter
Your gluten-free sourdough starter should be at “peak activity” when it is combined with other ingredients to create the dough (the next step). Peak activity happens after a starter has been fed, grown in size (about doubled), is nice and bubbly, but hasn’t yet started to fall back down or deflate in the container. During the winter, we put the fed starter in the oven (described above) to help it peak.
I suggest feeding your starter twice before baking to get it nice and active, especially if it was previously stored in the refrigerator. Don’t fret if your starter doesn’t overflow from its container like you may see online! GF starter is a little less vigorous than gluten-based starters. I also find that a gluten-free sourdough starter will peak and fall more quickly than wheat-based starters, much like the dough itself. Therefore, try to keep an eye on it after feeding to catch it at that ideal time.
STEP 2: Mix the Dough
In a mixing bowl, first combine and mix all of the dry ingredients – including flours, salt, and psyllium husk. This is important because the psyllium husk needs to get evenly distributed amongst the flour. When you’re weighing flour, don’t forget to tare/zero the scale. or take the weight of the bowl into account! We typically weigh each type of flour in a smaller bowl, adding them one-by-one to the main bowl.
Next add the wet stuff: the active starter, water, and optional honey. The recipe calls for lukewarm water because cold water will lower the temperature of the dough and slow the activity of the starter. Also, if you want to add fresh or dried herbs, nuts or seeds, special seasonings, sun dried tomatoes, olives, or other goodies to your loaf, do so now! Avoid adding juicy ingredients like fresh tomatoes.
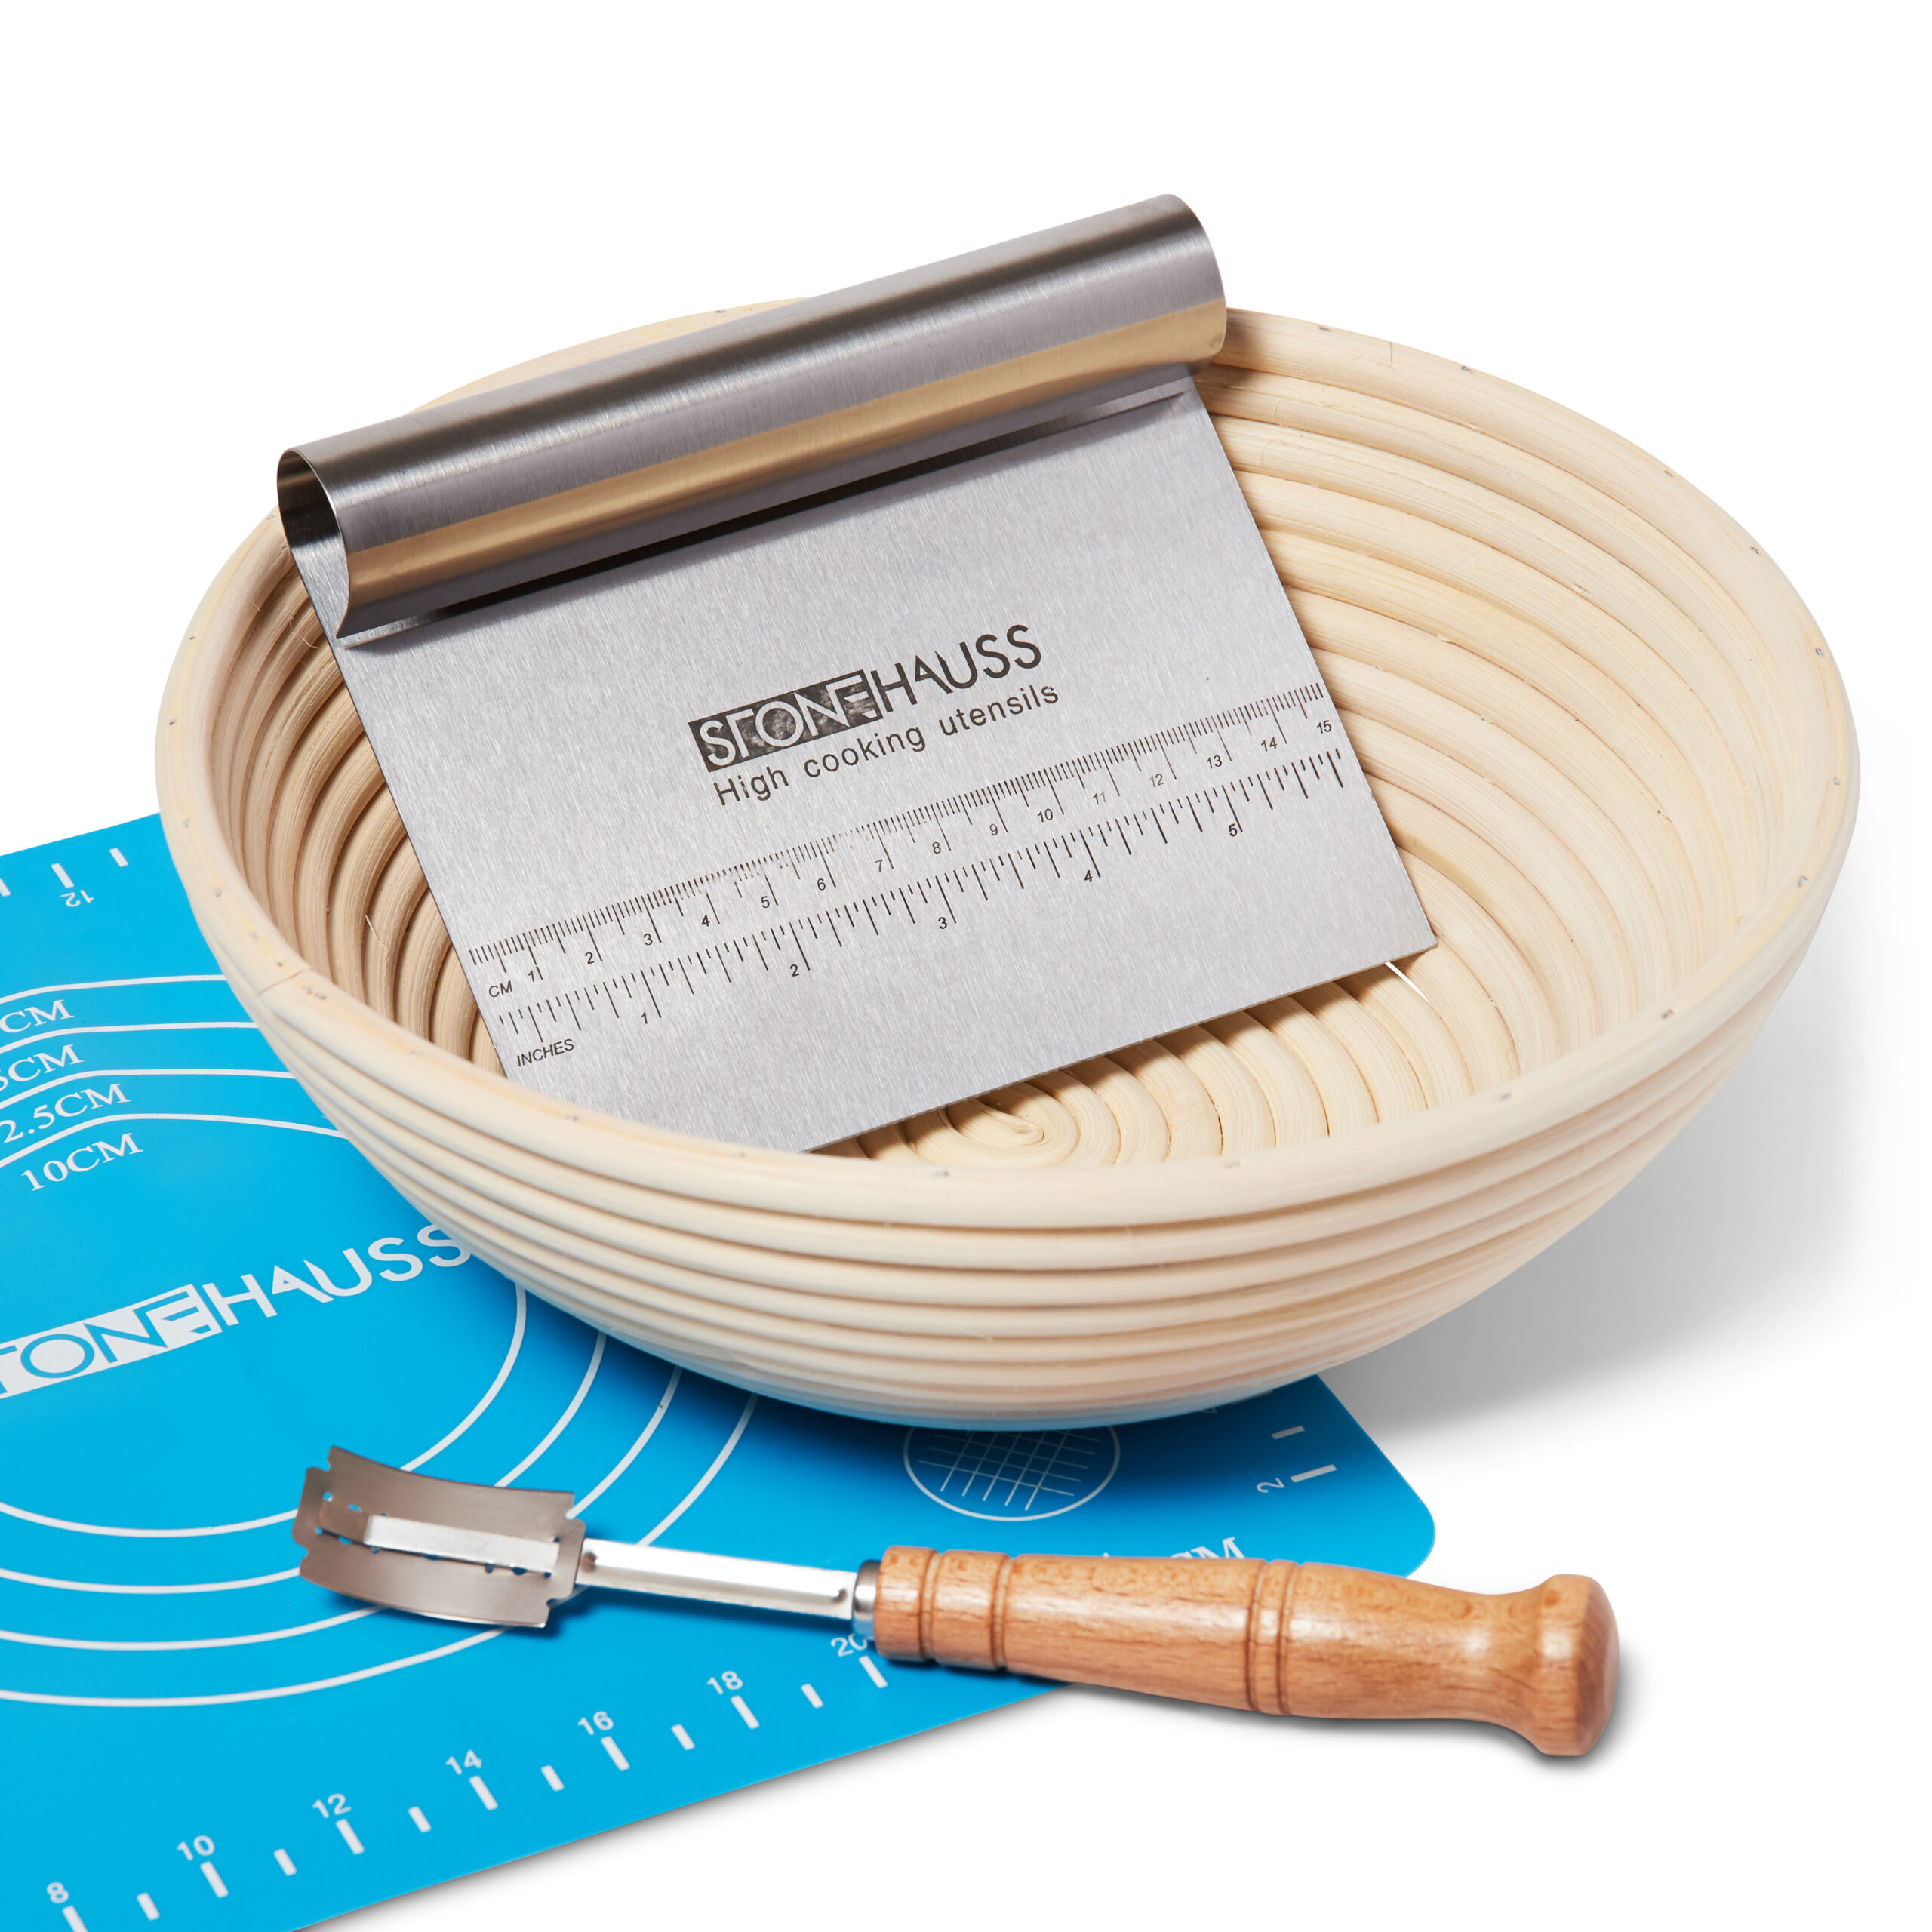
I typically pre-mix everything fairly well with a wooden spoon, but then dig in with clean hands to mix it further. Another option is to use a stand mixer. That will help fluff air into the dough. However, you do not need to “knead” the dough for any period of time. Once everything is thoroughly combined, form the dough into a large smooth ball. If things feel extra sticky, try using wet hands! I also use a dough scraper to clean up the sides of the bowl if needed.
STEP 3: Let the Dough Rest in Bulk Ferment
Here is the easy part. Just let it sit! Unlike classic wheat sourdough, gluten-free sourdough doesn’t require routine stretching and folding, slapping, or other fussing during the bulk fermentation phase. In fact, the less you touch it, the better. Just sit back and let her go through a long slow rise. This stage can be anywhere from 3 to 5 hours.
Tips for Bulk Ferment:
- Place the formed dough ball in the bottom of the bowl.
- Cover the bowl with a damp lint-free towel, like a tea towel or flour sack towel. Dampening the towel helps prevent the dough from drying out – without the need for plastic wrap!
- Tuck the bowl somewhere warm and cozy, but not hot.
- Take a peek at the dough every so often. Is it puffing up a bit? We usually let our gluten-free sourdough sit in bulk ferment for about 4 hours, and then transfer it to the banneton for the final proof.
- If it is really warm in your home (over 80F), your loaf will ferment more quickly. Because gluten-free sourdough is more prone to over-proofing than gluten sourdough, reduce the bulk ferment time to 2-3 hours.
STEP 4: Proof Overnight
Next, we’re going to transfer the dough into the proofing basket, aka banneton. Proofing is essentially the final rise. After much experimentation, we have found the best results with our gluten-free sourdough bread when the room-temperature bulk fermentation phase is followed by a long cold proof in the refrigerator. This is almost exactly how we bake our wheat-based sourdough bread, with one exception: time. Wheat is more forgiving and can sit for up over 24 hours in cold proof. On the other hand, gluten-free sourdough peaks and falls faster, so I suggest a 7-12 hour cold proof instead.
By putting the dough into a banneton, it helps it form and hold the perfect loaf shape. A banneton proofing basket is made from woven material, which allows extra air into the loaf – adding to the rise. Last but not least, using a banneton for proofing makes the transfer into the hot baking pan a bit easier. If you do not have a bannteon, simply transfer the dough into a smaller bowl (a loaf-size bowl that will easily fit in the fridge.
To transfer the dough into the banneton:
- Sprinkle a light dusting of flour over the bare banneton and/or cloth liner. I use a small fine mesh strainer (like a flour sifter) to evenly dust the basket. This prevents the dough from sticking.
- Then gently pick up your dough ball, with an effort to keep it all in one piece and squish it as little as possible. If it seems to stick to your bowl, don’t pull at it. Use a wet dough scraper to help lift the ball away from the bowl.
- Set the dough ball in the middle of the banneton, cover it again with a damp towel.
- We sometimes leave the banneton out at room temperature for another hour to puff up slightly before putting it into the refrigerator. Other times (aka when it’s already bedtime) we put it right into the fridge.
Step 5: Preheat the Oven
It may seem silly for “preheat the oven” to be its own step, but it is an important one! When baking sourdough, we preheat the oven with the combo cooker or Dutch oven inside for an hour before the dough even goes in. When you add cold dough to a piping-hot pan it begins to cook and rise immediately, rather than having time to fall flat.
So, before you take the cold dough out of the refrigerator, turn the oven on to 475°F, stick your baking pan inside, and set the timer for an hour. Leave the dough in the fridge until right before it goes in to the oven.
(This step only applies if you are using a dutch oven, cast-iron combo cooker, or pizza stone. Otherwise, pre-heat the empty oven as you usually would when baking)
STEP 6: Transfer Dough to the Hot Pan
Once the oven (and combo cooker or dutch oven) have been heating for an hour, get ready to carefully transfer your cold dough into the hot pan.
The easiest way to get your dough out of the proofing basket or bowl (without manhandling and smashing it) is as follows:
- Cut a piece of parchment paper to just larger than the banneton size
- Set the parchment paper on top of the banneton, and place a cutting board on top of that
- Holding both the cutting board and banneton together, carefully flip everything upside down.
- Gently lift the basket up and away.
- The sourdough ball should now be on the cutting board and parchment paper. (Yes, you can reuse the parchment paper!)
- Before sliding it into the pan, I like to use a small fine-mesh strainer or sifter to very lightly dust the top of the loaf with flour. If you choose to score your dough, it creates contrast and pretty designs.
Optional Step: Score the Dough
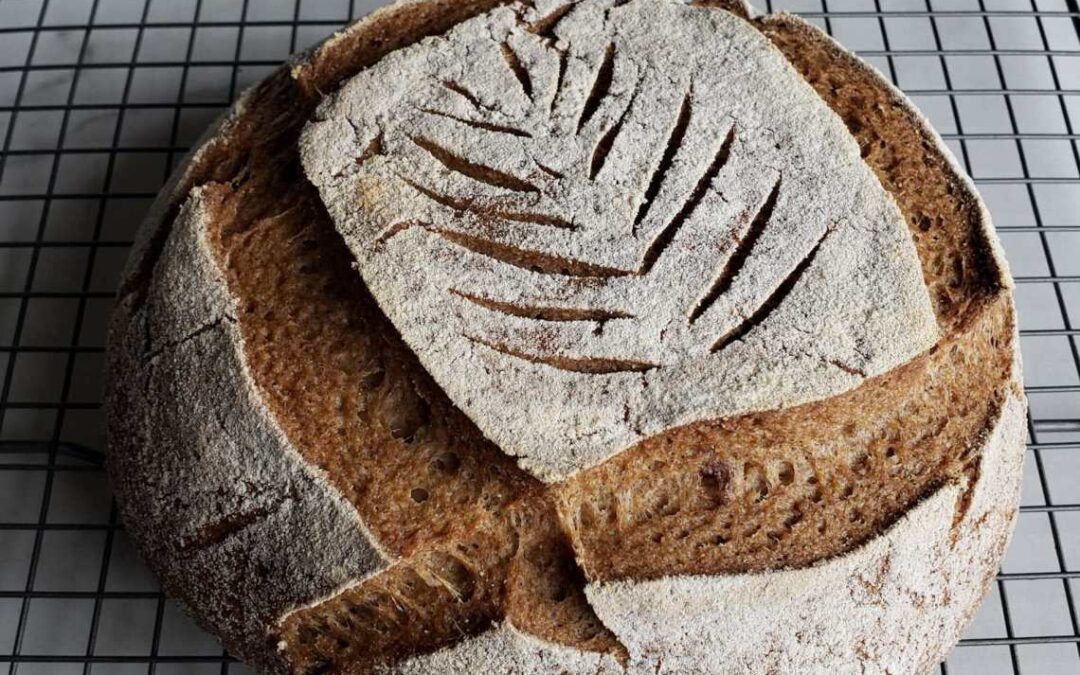
Before hitting the hot pan, you may want to score the top of your loaf. Scoring is the process of using a bread lame (essentially an easy-to-handle razor blade) to create a slit in the top of your dough, along with optional fancy designs. It isn’t required, but it does help give your loaf a place to naturally expand as it rises. Without scoring, a loaf will likely split open haphazardly during baking.
The loaf will expand and split open the most where you score it. Deeper scores are used for directing that rapid expansion. It may even create a nice little lip on your loaf. Bakers call this the “ear”. Smaller, shallow scoring can be used to create beautiful designs. Move quickly here so your loaf doesn’t start to go flat on you!
STEP 7: Bake
After flipping the dough onto the cutting board (and possibly scoring it), get that baby into the oven as soon as possible! Gently ease the loaf and parchment paper into the dutch oven or combo cooker. This is where the combo cooker is extra handy. We poise the cutting board near the edge of the (very hot!) flat bottom portion, grab the sides of the parchment paper, and carefully slide the whole thing off the board and into the combo cooker. Place the lid on top, and put it all in the oven.
Bake the loaf covered for 60 minutes on 475°F. Hellooooo steam! Next, pull it all out and take the lid off. This is the best part – the big reveal! But don’t oogle over it too long. Quickly put it back in the oven to finish baking – this time uncovered, for a final 5 minutes to finish browning the top. Once it’s finished, quickly get the loaf out of the hot pan and on to a cooling rack.
Tip to Prevent a Burned Bottom
Depending on your oven, the bottom of the loaf sometimes turns out a bit more browned than some folks prefer. To prevent a burned-bottom, try this tip: While baking, put a cookie sheet on the empty oven rack just below the one your baking vessel (e.g. combo cooker or dutch oven) is resting on! It absorbs and blocks the extra heat from getting to your precious loaf instead.
STEP 8: Eat & Enjoy!
It is almost time to dig in and enjoy your very own homemade gluten-free sourdough bread! But not so fast. Allow the loaf cool down for a few hours before cutting it. I know, I know. It is extremely difficult to resist cutting into it right away. But the steam is still doing its magic inside and you don’t want to let it out too early. Cutting into your loaf while it is still warm will make it dry out faster in storage.
Speaking of storage… We have found that is it best to wrap sourdough bread in a dry tea towel, and then put the bundle inside a paper bag. A paper bag alone seems to dry out too quickly. An air-tight container can cause it to mold. The use of a bread box also increases freshness. Homemade sourdough bread is always best the first day or two after baking. Then, it does become increasingly stale with time. To combat that, we like to toast or broil the older slices of sourdough. It brings it back to life!
If you don’t think you can eat a whole loaf within 3-4 days, try freezing some! Cut the loaf in half on the first day while it is still nice and fresh, and then put it in the freezer in an air tight container. You could even freeze slices. Pull it out to defrost at room temperature. Toasting may help improve the texture in that case as well.